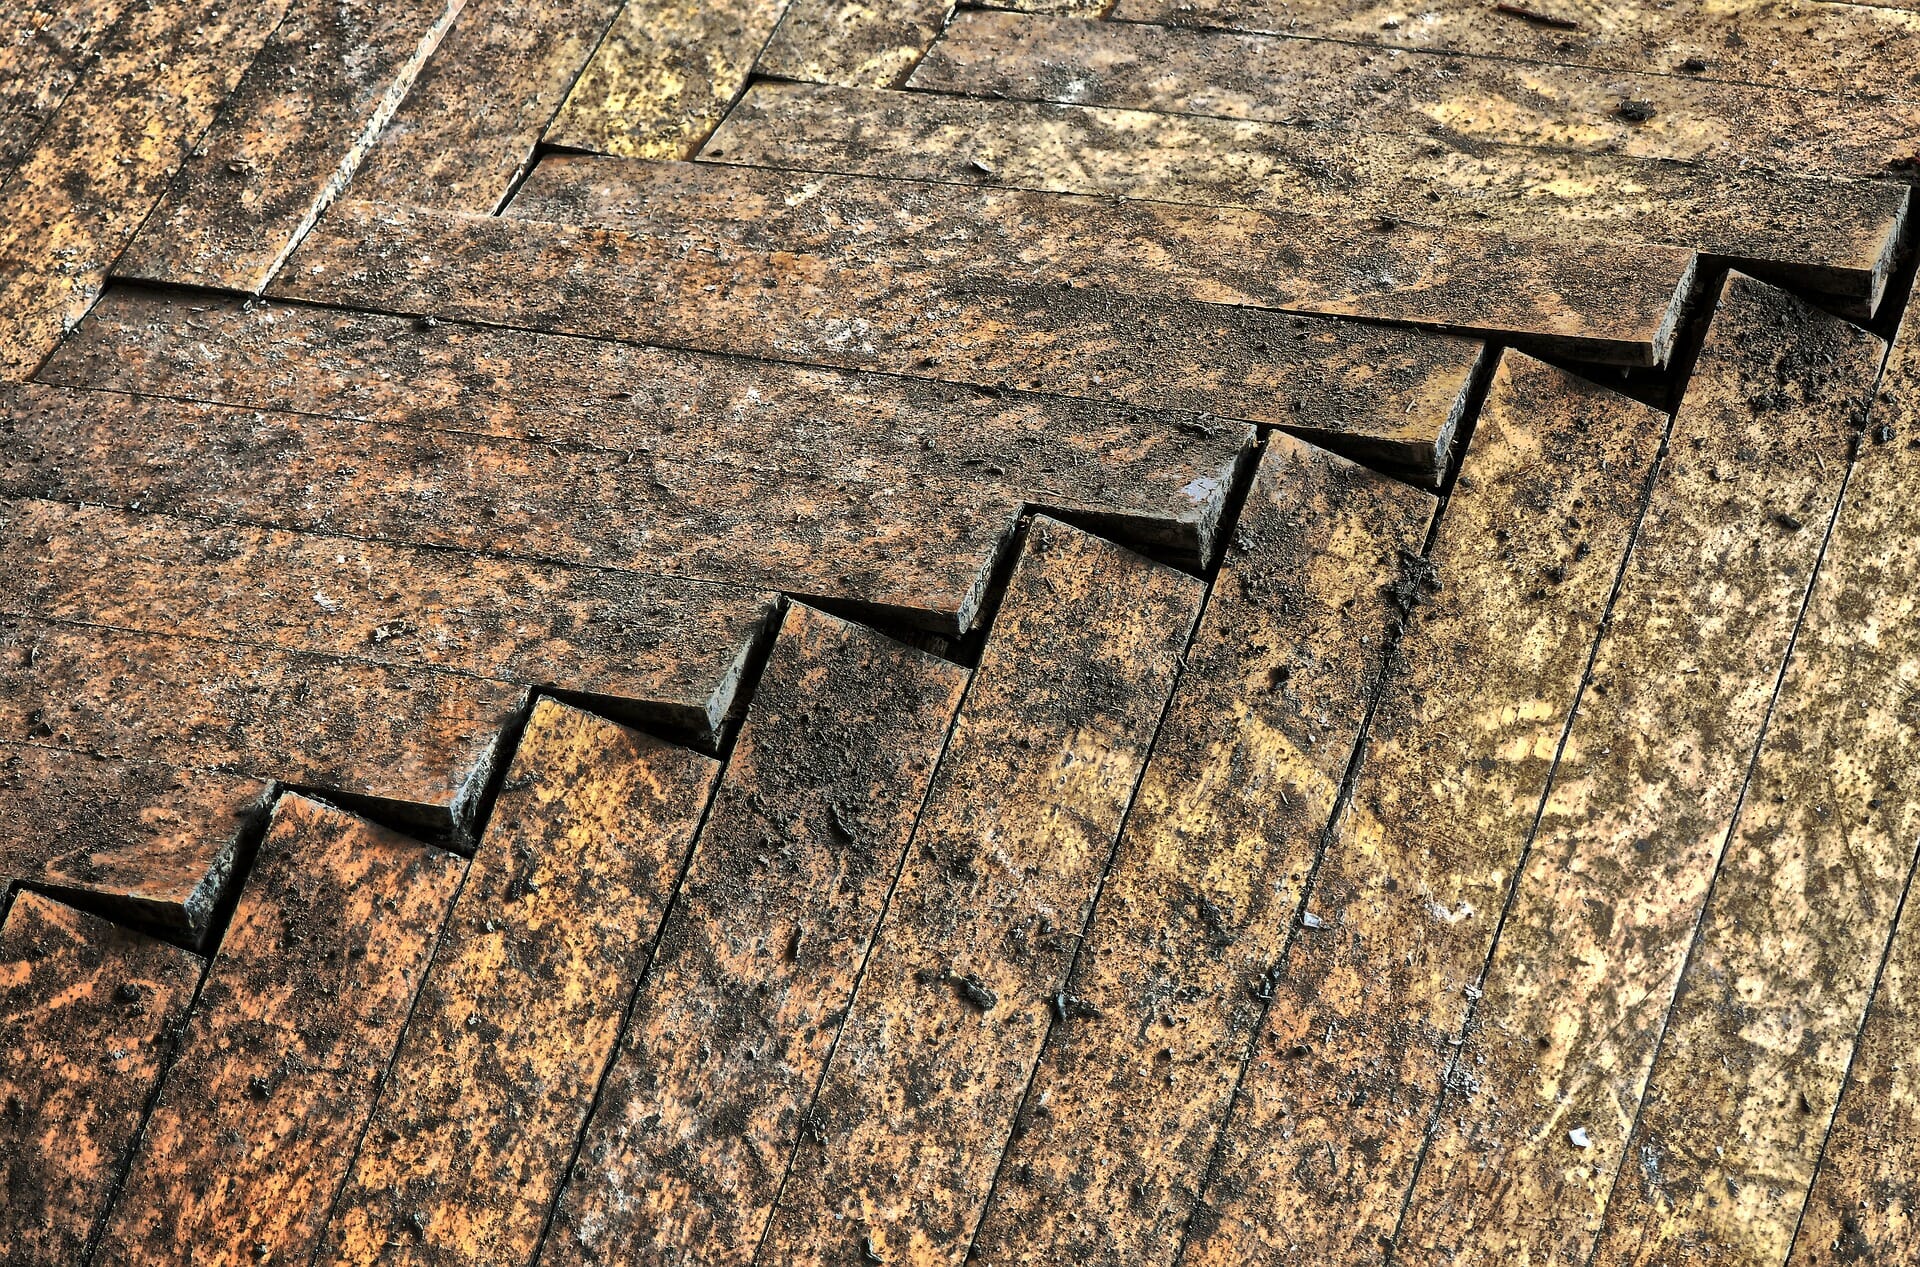
Hardwood floors are susceptible to water damage, and you may be wondering if it’s even possible to repair them. Spoiler alert: it is! If you’re looking to get your floor in like new condition, follow these 5 steps!
Step 1: Identify and remedy the source of water
You should never begin water damage repairs without firmly identifying and mitigating the source of the water that has affected the wood floor. If you fail to do this, the issues will come right back within a couple of weeks or months.
Step 2: Choose the planks that need replacing
Obviously, you’ll begin with the planks that display the water damage, but you need to be sure to take a few of the surrounding planks as well to prevent hidden damage from surfacing in the future. Additionally, the new wood will be laced into the current flooring, so you’ll want to remove it in a natural pattern to ensure seamless repair.
Step 3: Check the sub-floor and any concrete underneath for water/damage
The plywood subfloor underneath the planks needs to be inspected for mold or any weakening from water. If it is damaged, it will need to be removed and any concrete underneath that must also be completely dry before new plywood is patched in. You also need to remove any planks that did not appear damaged but were resting on top of water damaged subfloor.
Step 4: Replace the subfloor and weave in the new planks
Once the concrete or area the subfloor rests upon is dry, the plywood can be replaced. Be sure to use all of the same materials that have been used for the rest of the floor, otherwise, you’ll end up with a different look and feel in just that area. Once the subfloor has been replaced, there is the process of choosing, sizing, and installing the new wood planks. This is a task that requires great attention to detail and a ton of patience. If this is not done correctly, there can be deep gaps and structural issues in the future.
Step 5: Sand and refinish the whole floor
This step is what creates the most uniform look on your floor. The natural color of wood tends to shift and fade over time, so it’s imperative that you sand and stain the entire thing again. While spot refinishes are possible, you will have to make some compromises that include slightly mismatched coloring, texture, and thickness.
Call our professionals today to see what we can do for your water-damaged wood floors!

